How do you use a child's camera?
Because children constantly want to create and explore the world, a camera is an essential tool for them. Photography is a logical continuation of the many drawings they create from an early age. Of course, it’s important to entrust the little ones with suitable devices, which allow them to develop their creativity in a fun and accessible way.
AgfaPhoto has developed a complete range of suitable cameras for children from the age of 3. Each model has its own features and functionality: learn how to use them to guide your child through their first photographic stories!
The different settings of the child’s camera
The different models of AgfaPhoto child cameras have several features that are important to master for your child to take full advantage of. When you turn on the camera, the “mode” or “menu” button allows you to access various settings: for example, you access the settings, the photo or video mode or the photo frame functionality.
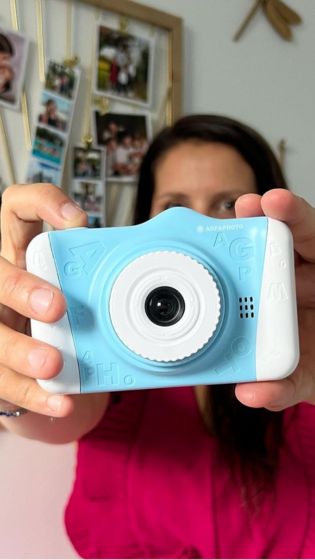
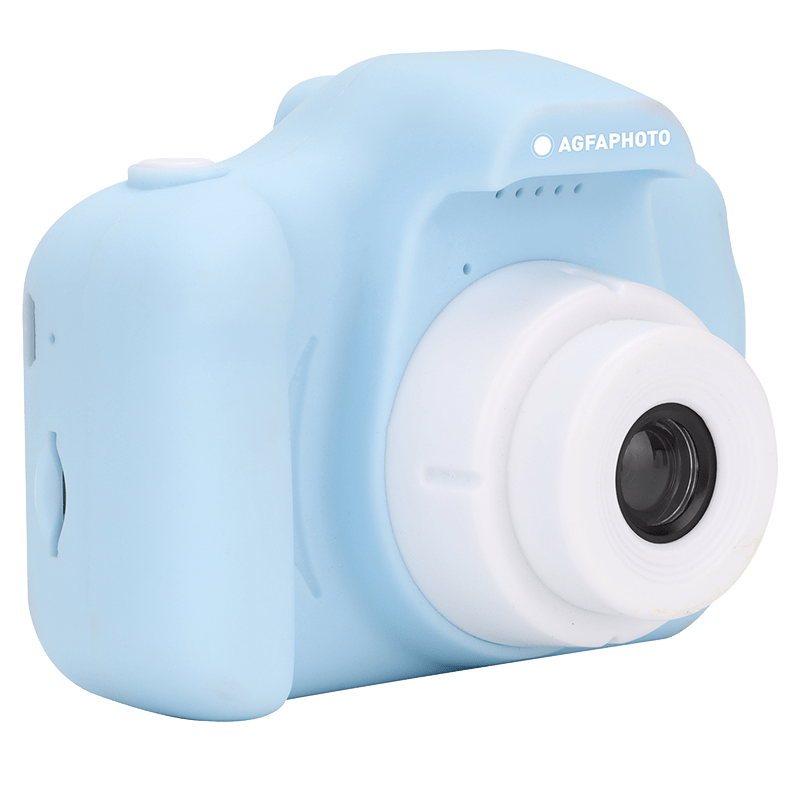
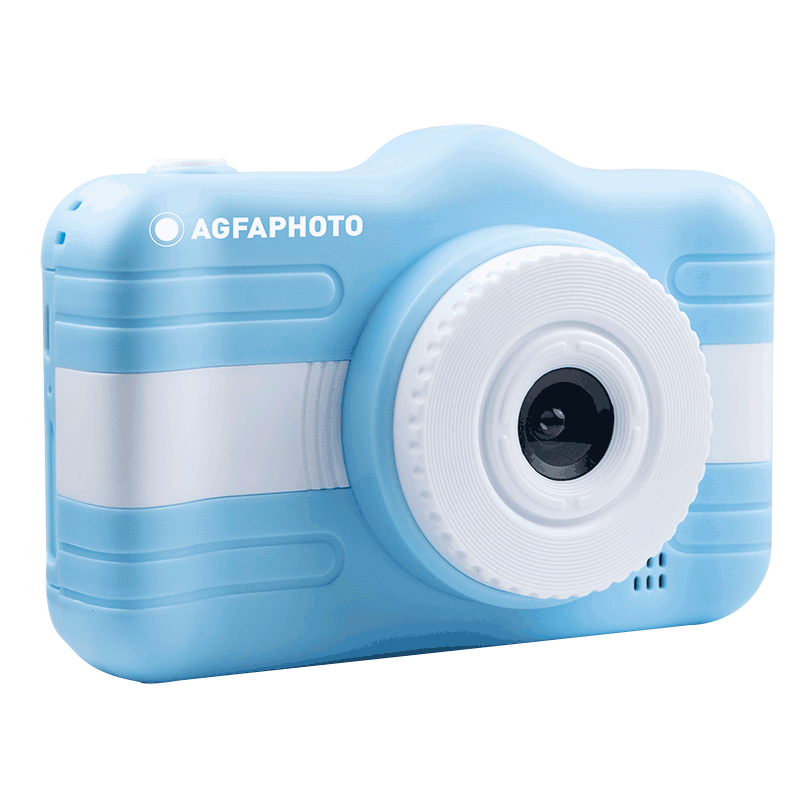
Access the features of the Realikids Cam Mini camera
This ultra-compact model for the smallest kids:
• a Mode button
• a Power button
• a Menu button
• a Shutter button
• an Up/Down button
The power button allows you to turn the device on and off: a light indicator is activated each time you do.
The different camera modes can be activated by pressing the “mode” button several times: you can scroll through the modes and access photo viewing, video recording and the camera. Once you have entered the correct mode, just press the shutter button to take the photo or start the video. The “Settings” button allows you to change the camera settings by pressing the shutter button to confirm your choices. With your child, you can choose up to 16 different effects using fun filters and frames.
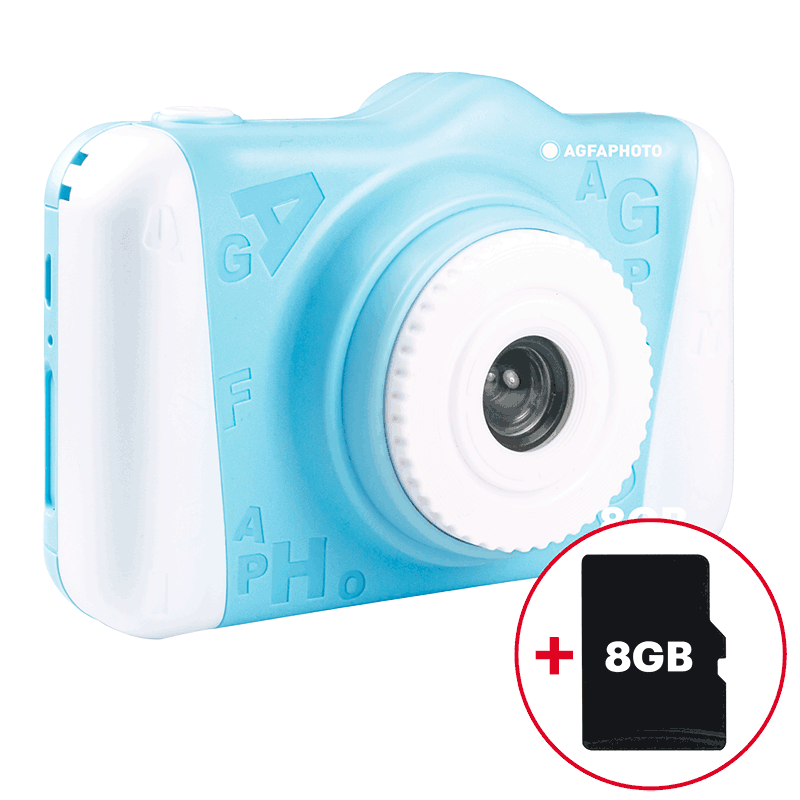
The settings and features of the Realikids Cam Mini Games, Cam 2 with Photo Filters + 8GB SD Card included
These three AgfaPhoto models include the essential features of a camera but also additional options such as the ability to access mini-games, add filters or store more photos.
For each of these models, you can access the different modes using the dedicated button that will allow you to activate the photo mode, the video recording or the preview mode.
If you want to access the different filters or photo frames, just go to the photo mode and press the “up” button: then select the desired frame or filter and press the shutter to take the photo.
The settings menu allows you to adjust the size of the video output, the timestamp of the photos, the size of the photo output, the languages, the time zone and frequency of light. This menu also includes an “auto camera shutdown” function: the camera switches off after 1 minute, 3 minutes or 5 minutes if your child has chosen not to take any more photos. This allows you to maintain the camera battery longer.
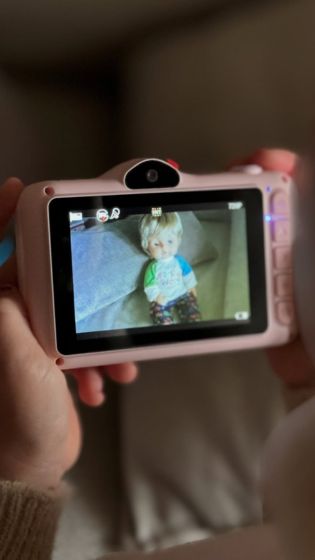
These children’s camera models also feature a selfie mode that you can access by scrolling through the different modes. Enabling selfie mode allows you to turn on the second sensor on the back of the camera. Thanks to the different features of these models, children can also learn to master the “timer” function that allows them to take photos even when the action is at its peak.
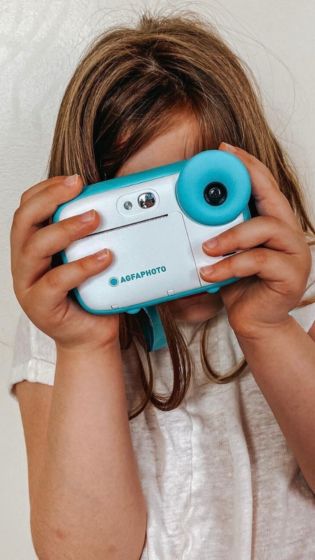
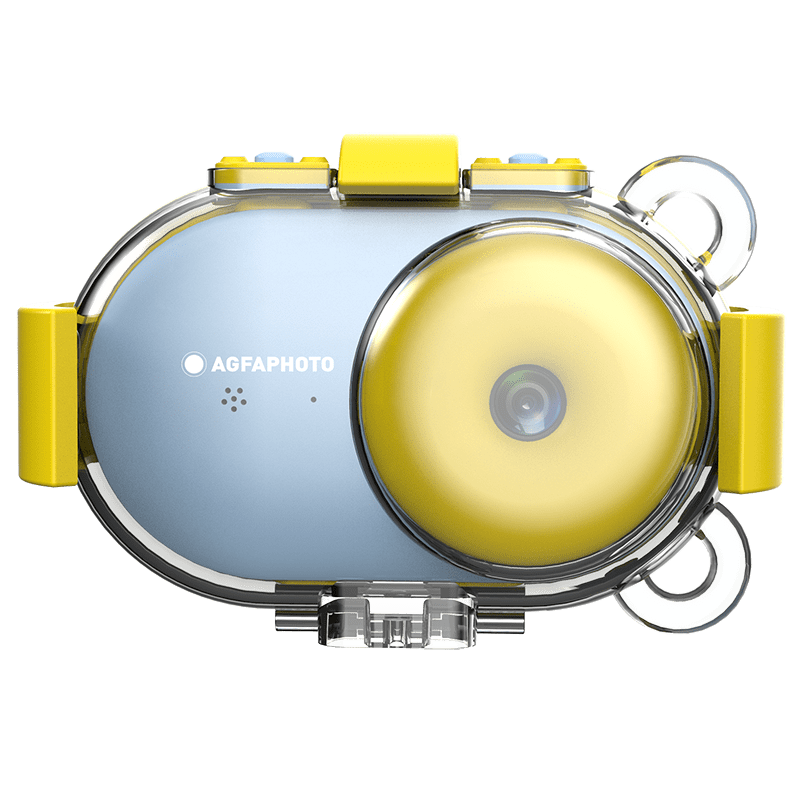
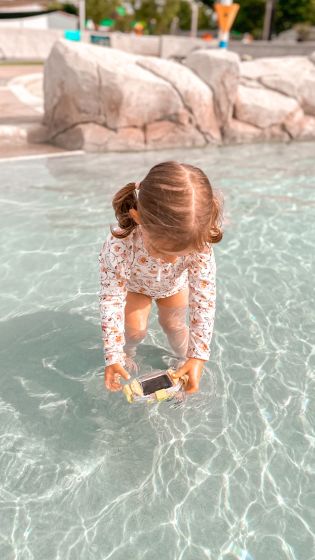
The Realikids Cam Waterproof camera interface
To use this waterproof model, you must first slip it into its waterproof case. Fasteners must be properly affixed for the best waterproof effect.
This model has a “mode” button that allows access to the camera for taking photos, different photo stickers, timer, video and filters. If your child wants to add stickers, just go to the photo mode and press the “down” button that will allow them to scroll through the different stickers.
The “confirmation” button activates the timer and selects the time interval (3 to 10 seconds). It also allows you to enter the filter mode: your child will also be able to scroll through the different filters using the “up” and “down” keys.
This model has a Menu/Album button that allows you to manage the various photos and videos. By pressing and holding this button, you can set the camera: auto-stop, key sound, language selection, date and time or formatting.
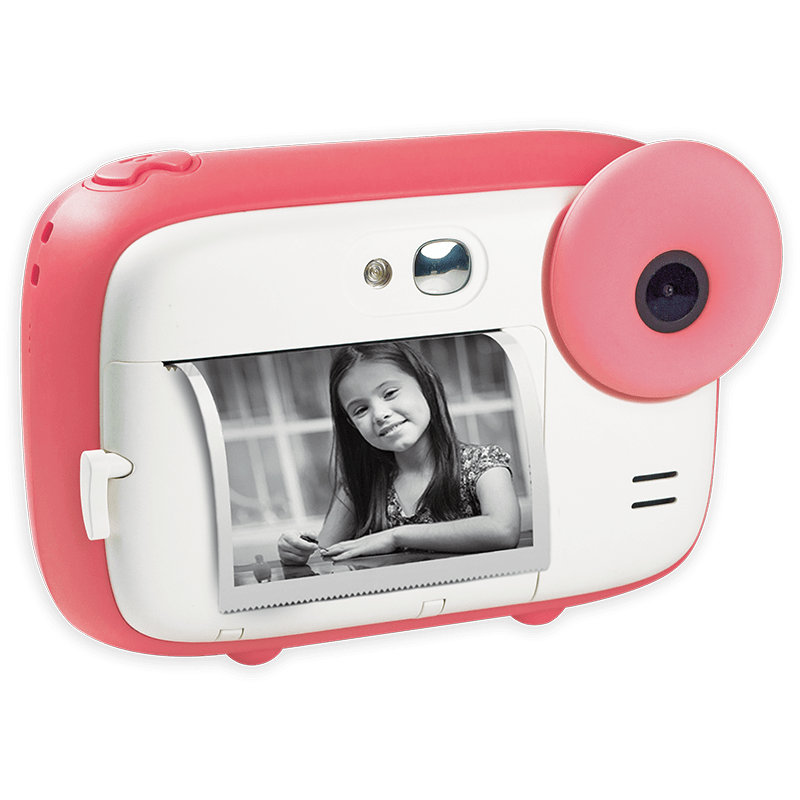
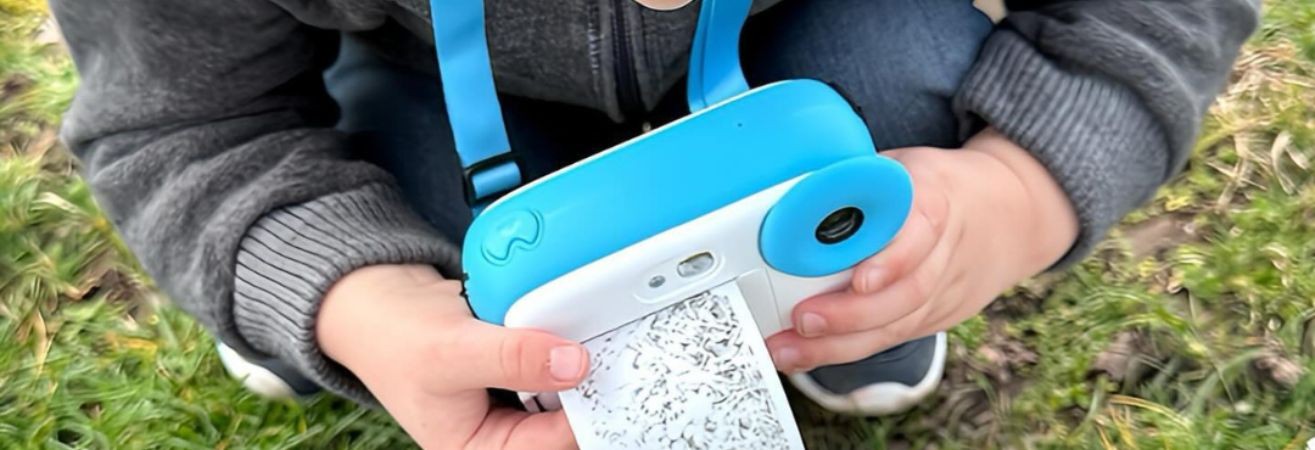
Get quality instant photos
The instant children’s camera allows them to take pictures and quickly view them in paper format. To do this, the device is equipped with a roll of inkless thermal paper that you can install by opening the dedicated compartment: the user manual shows you the precise position of the roll, so please refer to it. Once the compartment is closed, 5 cm of paper must project from the print slot.
Be aware that the first prints may be less sharp because the instant camera requires a short warm-up time. If after several prints the photos remain unclear, go to the settings to adjust the intensity.
When you turn on the camera, it automatically switches to photo mode. Before taking the pictures, your child can add a frame or filter by pressing the “Frame” button and scrolling through the different options.
The print function is enabled by default, so once the photo is taken, the print will be automatically printed. If you don’t want to print the photo, just press the print button before activating the shutter: you will then see the print icon disappear.
Please note that you can access the various camera settings, either in photo mode or in video mode. You can adjust the resolution, print density and video size.
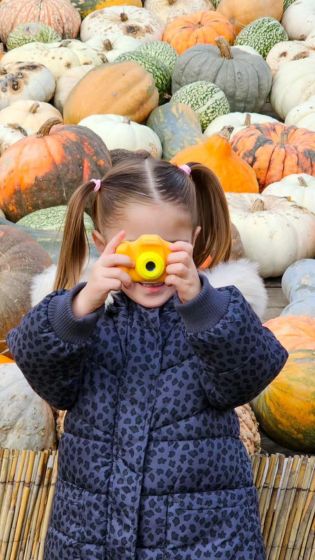
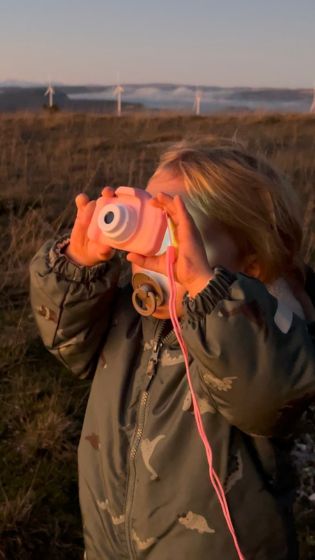
All children's cameras in the AgfaPhoto range are equipped with neckband systems. Teach your child to hang the camera from the strap to use it securely!
Produits associés